
This Metallic Paint uber shader is a powerful three layers material able to simulate the complete light transport that happens within the layers. The flakes which are in the middle layer, are multi-scale and BRDF-based (not pattern based) so that at distance they converge to a smooth reflection while at close views they act like singular flakes; in other words.. they act like their real life counterparts. In facts generally we can see flakes only at close inspection however even when we don't see them directly they still give the characteristic appearance to metallic paints we all know and like.
For example, looking at the tail of the car below.. we don't see flakes as they converged to a smooth reflection.. it's the same material of the rear side mirror but there we see flakes as we are close to the camera. These are multi-scale flakes.

There're three reflective layers that compose the paint model:
- substrate base layer
- flakes layer
- coating layer
These are easily recognizable in the GUI. They are the base, flakes and coating rollouts.

The Base and Flakes layers are mixed together with the Metalness parameter. At 0 it means no flakes with only the base reflective layer. At 1 it means only flakes without the base layer. We called it 'metalness' because actually when the manufacturers want a more reflective and actractive paint they add metal (alu) particles (flakes) to the base layer to have it more reflective (it is generally also more expensive). Here it is the same but it won't cost you anything adding more metalness to your paints. Below metalness at 0, 0.5 and 1 respectively.


The influence of the Coating layer can be controlled with its IOR and Weight parameters. Higher IORs mean a more reflective surface. Take care that the IOR controls somehow also the appearance of the substrates as it is passed into the overall computation. Left image has IOR at 1.7, right image has IOR at 2.0. The reflection gets stronger while the base layer gets darker because less light is transmitted and more is reflected.

To colorize the substrate layers we have two ways.
The first is to use the Absorption parameter. It will colorize both base and flakes layers. Take care that absorption is the color that gets absorbed while those not absorbed will be the colors we actually see. Generally then it is [1-absorbedcolor] if you want the exact color or it is simply the color on the other side of the Hue range if we wanna pick up one on the fly from a color picker.
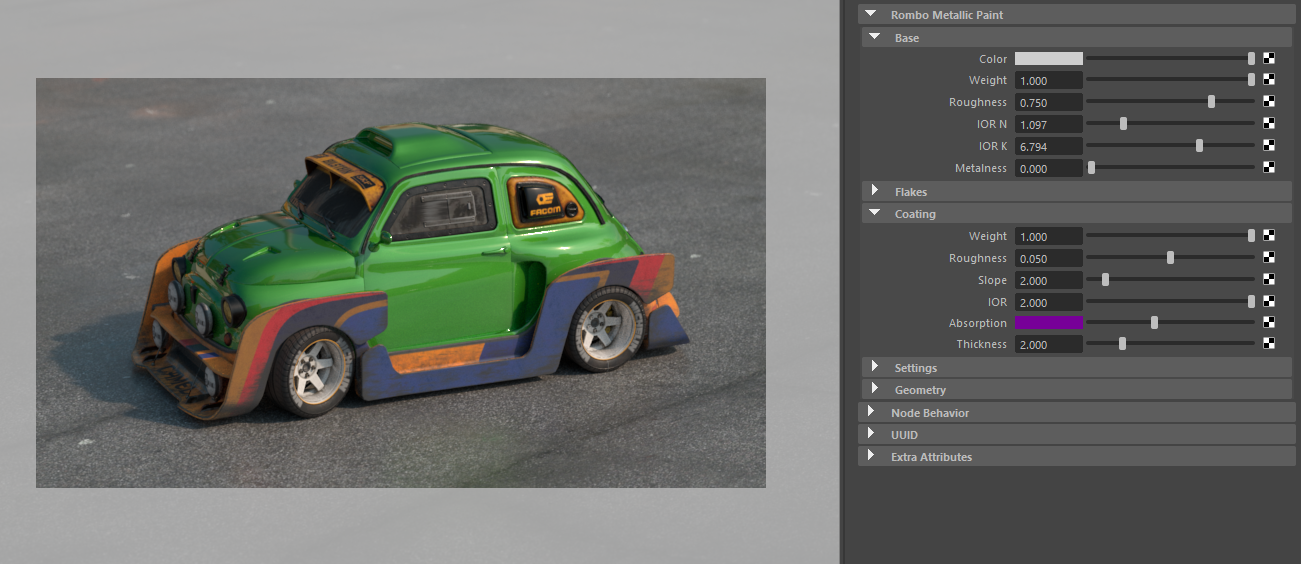
The Thickness parameter is very useful to fine tune the paint appearance. First set the absorption color and then eventually fine tune the final color with thickness. We can set thickness to 0 to disable coating absortion all together. Below a thickness of 1 and 2 respectively.
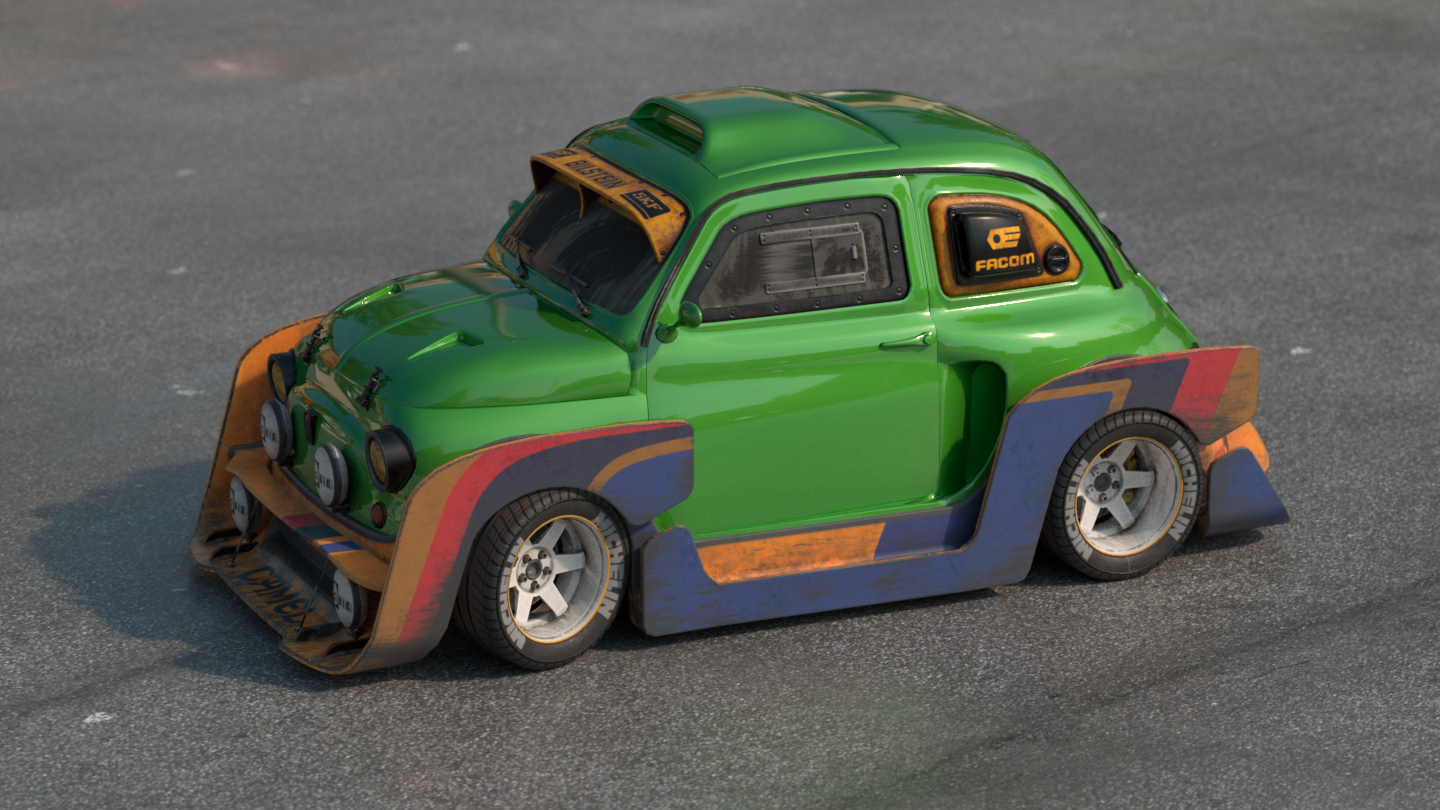
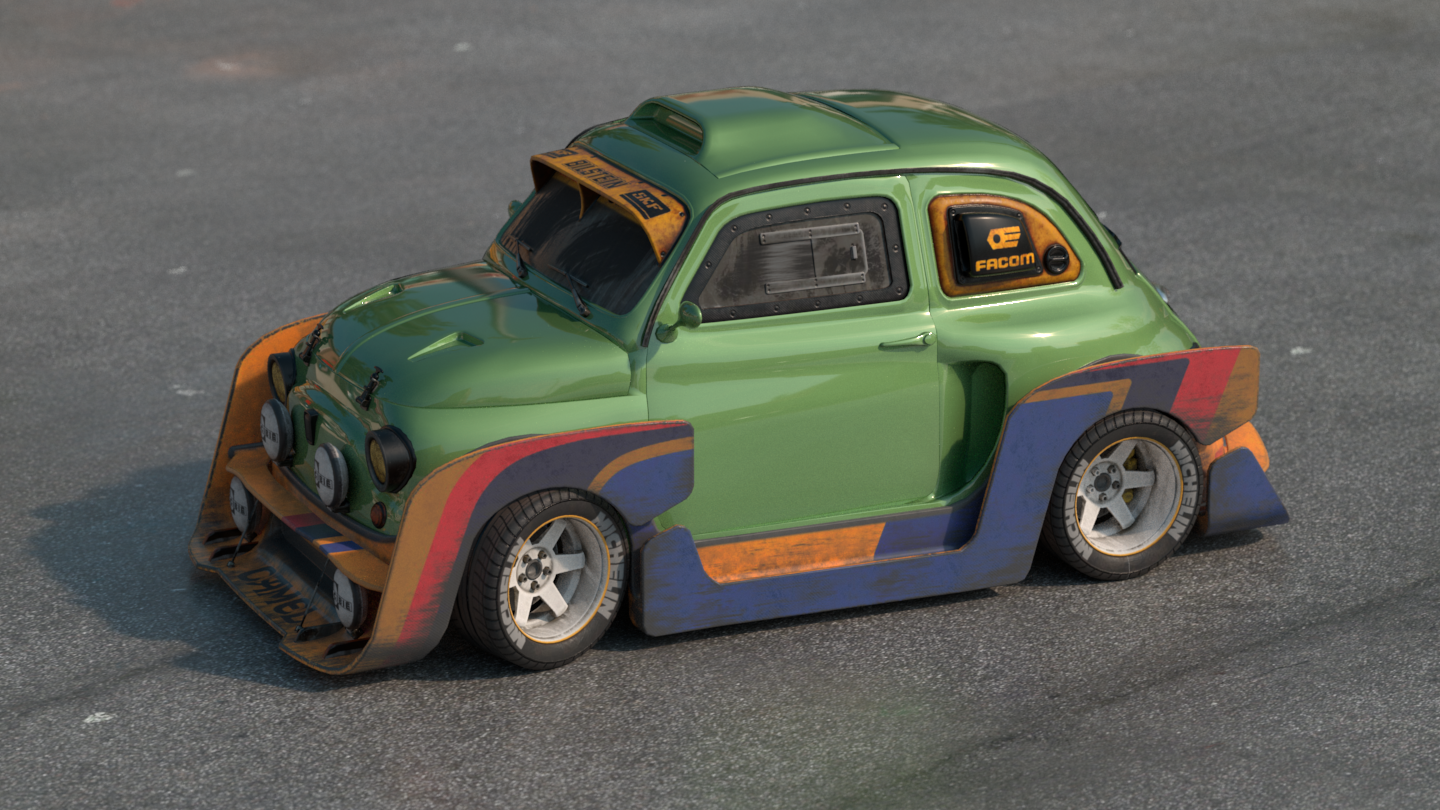
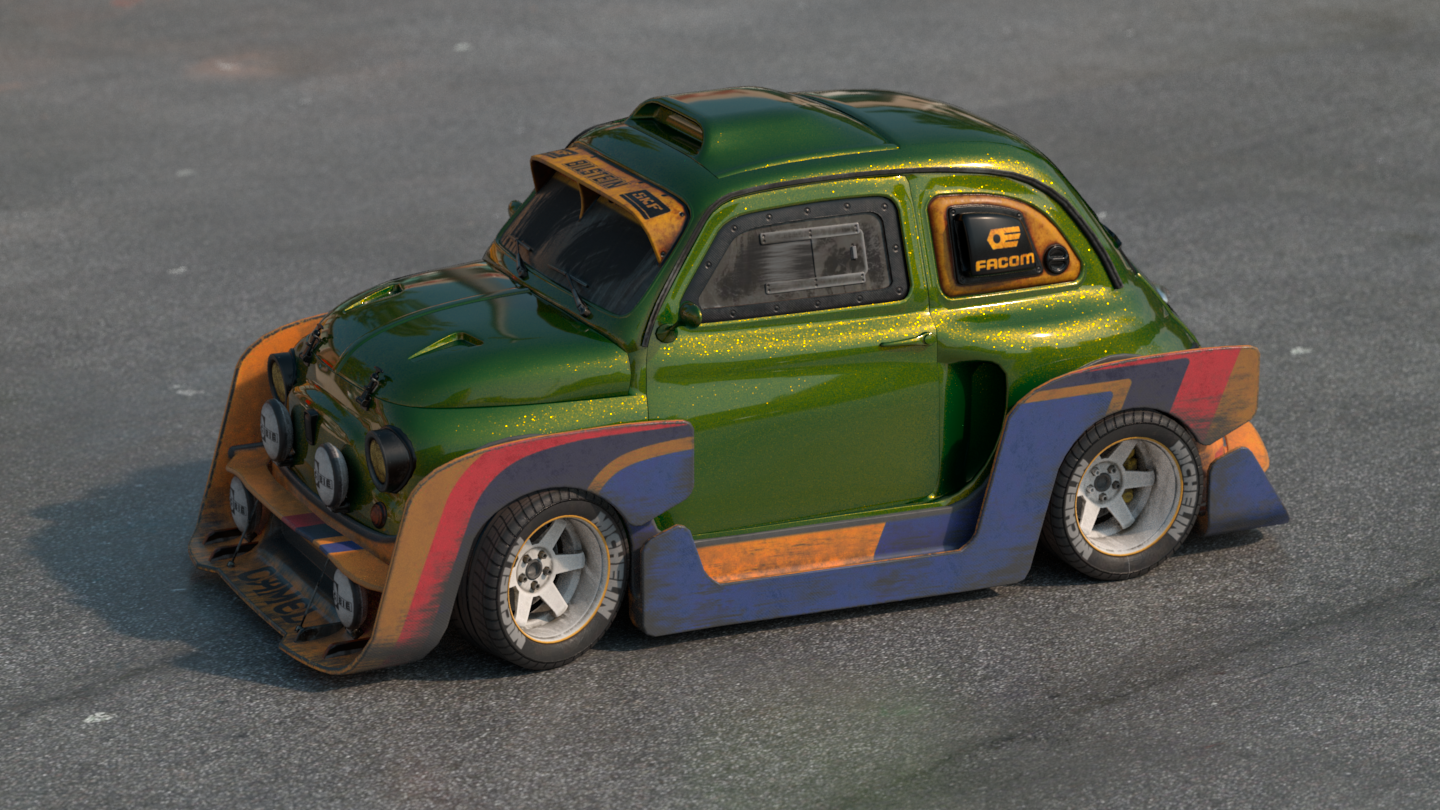
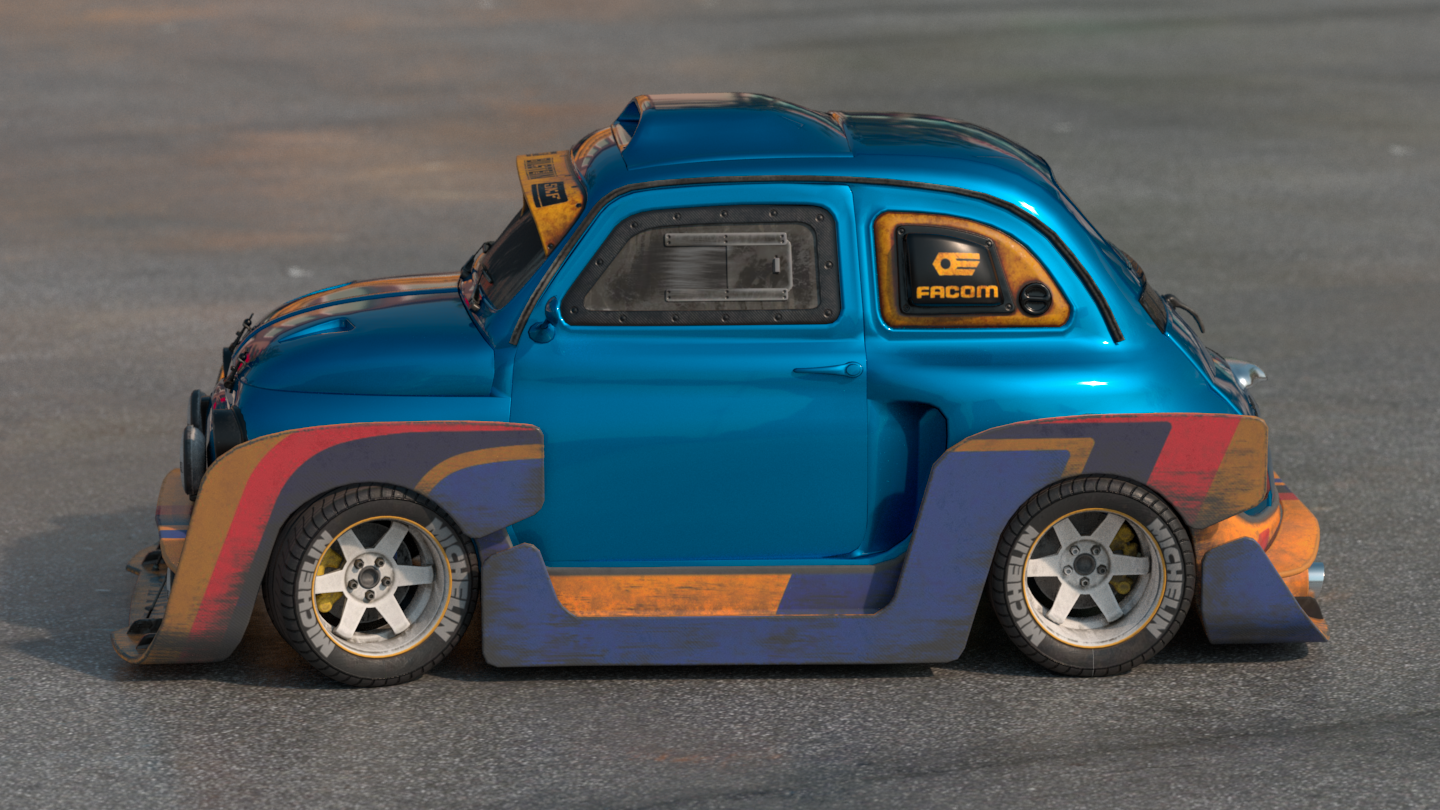
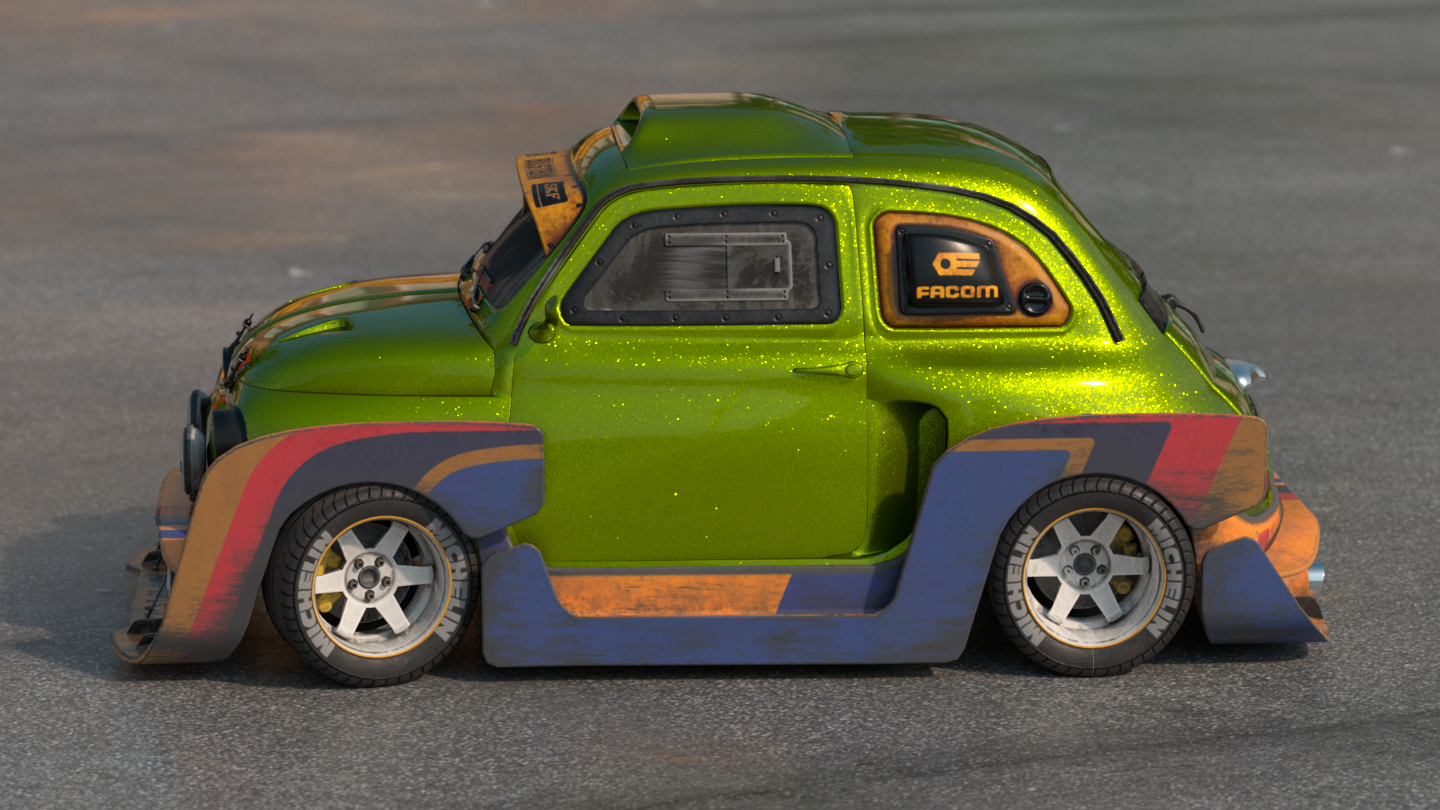
The other way to colorize base paint and flakes is to use their respective Color and Weight parameters. With those we can use different colors for the base and flakes layers. However we can still use the absorption and the thickness parameters to add a common shade to both colors for example. In this way we can get amazing colorizations very difficult to get otherwise. Below for example we're using a light green for the base, a gold yellow for the flakes and a light grey for absorption with a thickness of 1 for a crazy 'beetle' color. And how about a 'starry night in a swamp' color 🙂 ? Of course for car paints maybe not but remember that this shader can be used for many other types of materials, like for real beetles or xmas balls etc.

A little trick at this point is to use thickness with a mid grey absorption color when we want black or grey silver colors and start playing with thickness alone until we're happy with the results. In this way it is super easy and effective to get dark or silver metallic paints and fine control them.


Let's see briefly the IOR N and IOR K parameters. They make up the monochromatic (same values for all channels) complex IOR. They should rarely be touched because they are setup to aluminum values which is generally the metal we need while dealing with metallic paints. Of course we can set flakes to a gold complex IOR if we want real gold flakes in our substrate. But for everyday cases we can just use the base and flakes weight params to make stuff more or less reflective and the layer colors to colorize it. But ehy how to say no to a goldy 500 !

A really important parameter for the overall look of carpaints is the Roughness param on both base and flakes rollouts. It has to do with how much metallic our paint will look eventually. Let's focus on the base layer for now. The base layer is fully reflective. If we use a narrow reflection (low roughness) it will give an overall metallic appearance. If we use a wide reflection (high roughness) approaching almost a diffuse lobe, we'll get a less metallic look in favor of a more standard carpaint appearance.. most of the carpaints effectively have an high roughness base layer. Here we used roughness set to 1.2, 0.5 and 1.0 respectively.


Let's not forget however about our flakes layer. Effectively most carpaints are done in this way. We have an average roughness reflective base and on top we have a more metallic flake layer to give to the base a kind of added metallicity. Below we've mixed (metalness 0.6) some fine flakes (roughness 0.5) with the base layer (roughness 0.8) and we can see how the overall appearance is starting to get more metallic.

We do remember from the begining that we talked about multi-scale flakes. Guess how our flakes will look from a distant view ? Like they were not there because we can see only their overall reflection and in this sense.. the overall metallicity they give to our carpaint. Bear with us for a moment. If we had only that distant view we could have it approached just by narrowing down the base layer reflection.. meaning, from far away it just looks like a metallic paint. But becase our flakes are multi-scale we can use the same material for both close and distant views.
The differece between multi-scale flakes and those which are not is that at distance those patter-based flakes will be way more little than a pixel and we won't be able to properly sample them. If we animate the camera they will 'flicker' because in one frame they are there and in the next one they might not be there, randomly. With a multi-scale implementation instead flakes are fully resolved and the random beign there and being not there is fully deterministic and it is called 'glitter'.
Let's see now the Flakes parameters in detail.
We saw that the roughness param for the base layer is responsible of the metallicity of our paint. It is the same also for the Roughness param in the flakes rollout but here the roughness is also responsable for how our flakes will cover the model. With a low roughness (high metallicity) our flakes will be mainly around the specular highlights. The more we get wide (high roughness) the more the flakes will start to cover the entire model (which also means they will be less responsive to light). Here roughness was 0.25, 0.5 and 1.0; we see how we go from high to low metallicity because the more the flakes reflectivity is narrow the more they will look metallic.


The remaining parameters that controls the flakes distribution are: Density Coverage and Randomization.
Once we've setup an overall flakes size with the UV tiling params we can further control it with the Density param. It is better that in the while we keep the flakes roughness param set to 0.75 with a base metalness of 1.0 so we can better see the flakes. Also to have a uniform distribution in terms of size, let's keep the randomization param all the way down to 0.001 and to not have other params influencing density for the while let's keep the coverage param set to 1.0.
While tweaking the density param the flakes will change their size because with a more dense distribution all the flakes will have less empty space and will start cramming to obey the density value. So initially let's keep the density to 0.5 while setting up the overall size with UV tilings (here both at 0.05). Then increasing density we'll have more compact and more littler flakes while decreasing the density we'll have less compact and bigger flakes.

Here we have the density param set to 0.25 and 0.75 respectively. If we plan to use the 0.25 density of course we'll have to tweak a bit the UV tiling to have flakes way littler than that. With a 0.75 instead our flakes start to look good so planning to keep that density we may start tweaking back flakes roughness and metalness to finalize our look. Also giving them a bit of size variation with the randomization param will help making the flakes a bit more attractive.


The Coverage param works almost like the density param but instead to vary the size of the flakes it will just vary the space between them. Higher coverage less space, lower coverage more space. With a low density and low coverage we can go for sparse flakes like those on snow materials for example. Below all the params are the same as the last image above, only coverage is varying respectively with a 0.5 and a 0.25 value, flakes size remains the same while their coverage is getting sparse.


We see that while the flakes distribution is getting sparse the space between flakes creates voids. To fill them we have a Roughness Base param we kept secret till now because it is to be used only for sparse flakes distributions.. and also because in future releases we might just remove it and let the base layer filling the voids, however it is also true that without the base layer automatically filling in the void we have some more space for different appearances to be approached because the coating layer is also reacting to the void making up a more reflective coat, which might sometimes what we really want. Anyway, increasing it, it will fill the black holes for a more uniform look.

We're left with the Randomization param. It just varies the size of the flakes. While setting up the overall look of our flakes we left it practically at zero. Increasing it, some flakes will tend to be absorped into the overall reflection because they are getting too small to be seen, some other flakes will just get bigger instead. Below we start with highly packed flakes (roughness at 0.75, density at 0.8 and coverage at 1.0 with no randomization) and increase the randomization param with values of 1.0 and 5.0 respectively. We see that the randomization param has a big influence on the overall flakes appearance.

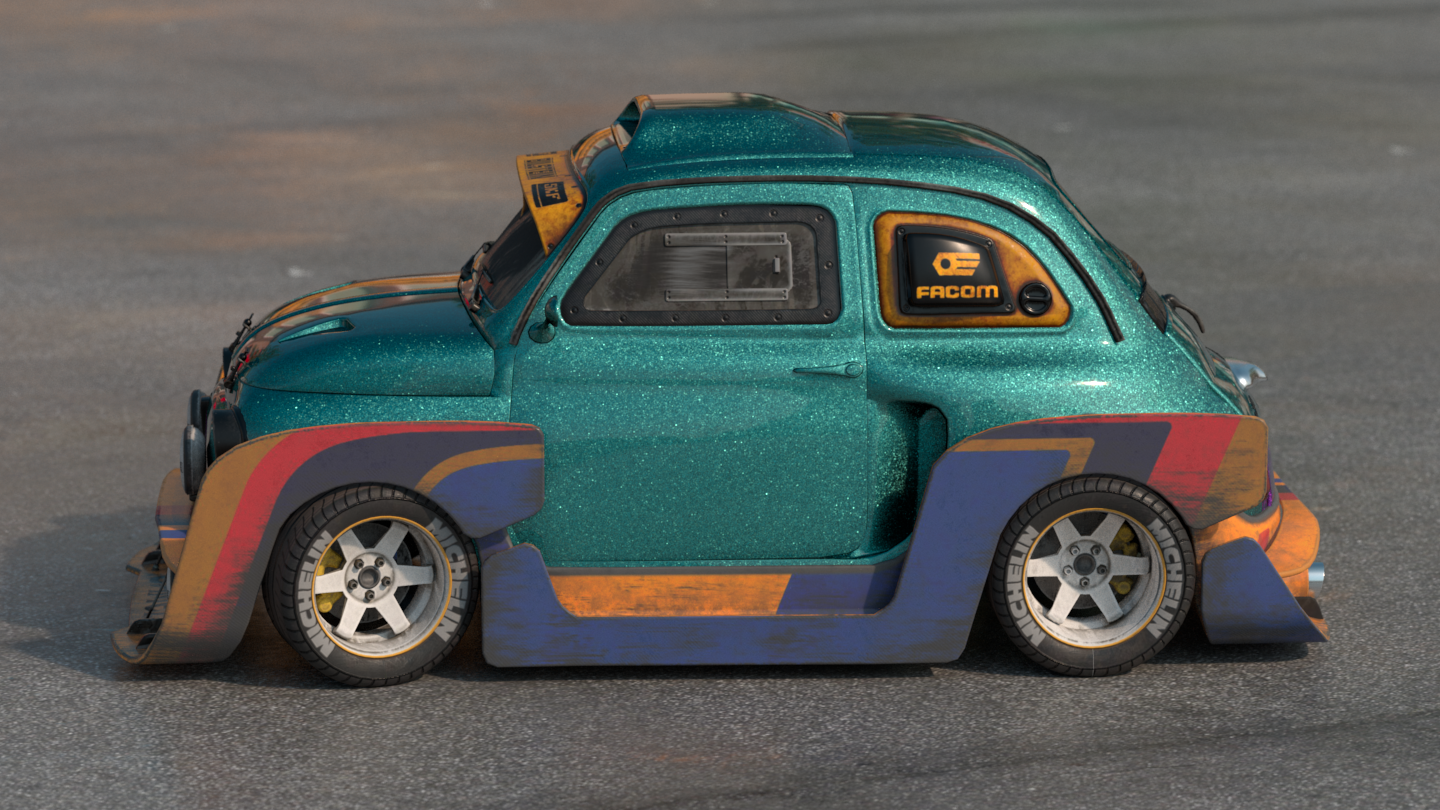

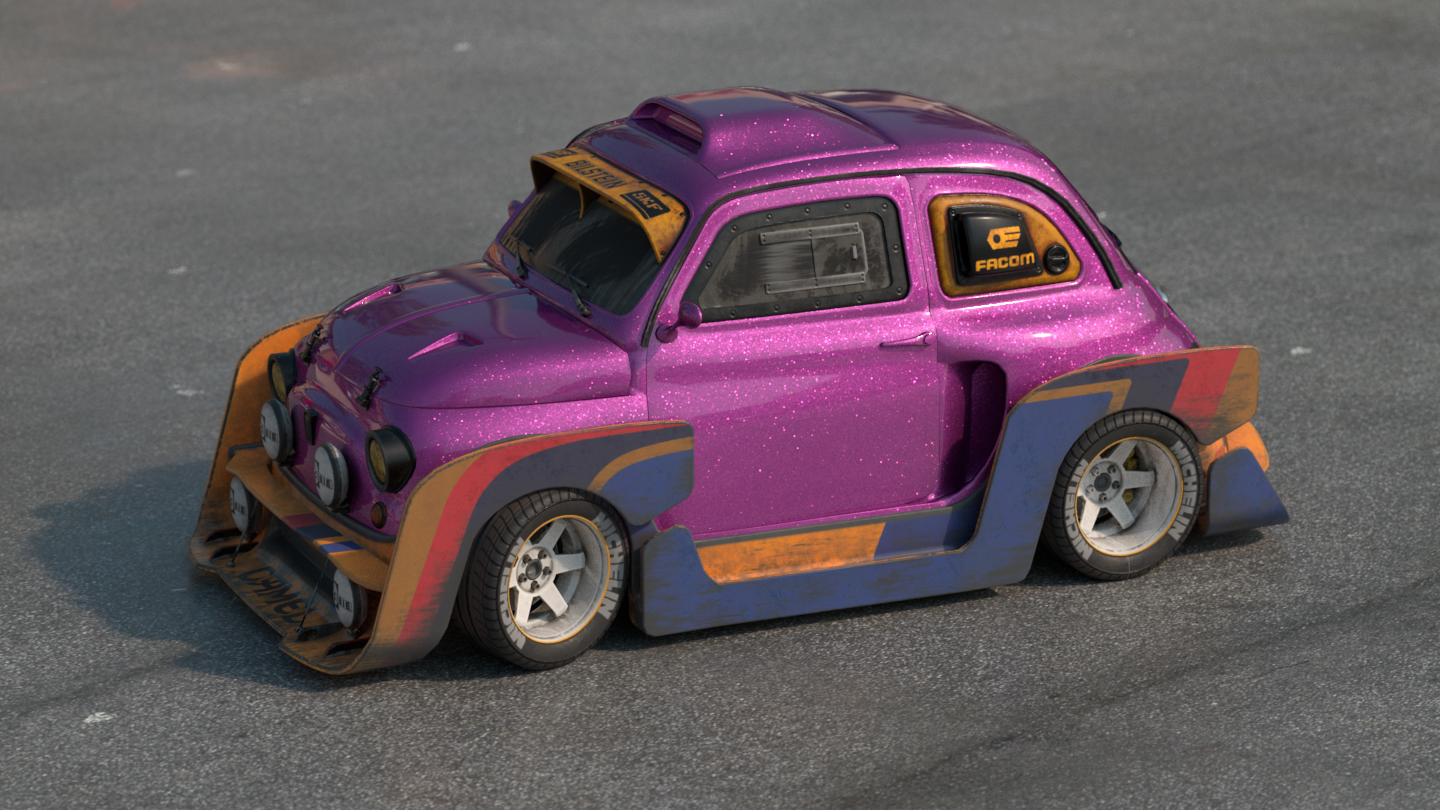
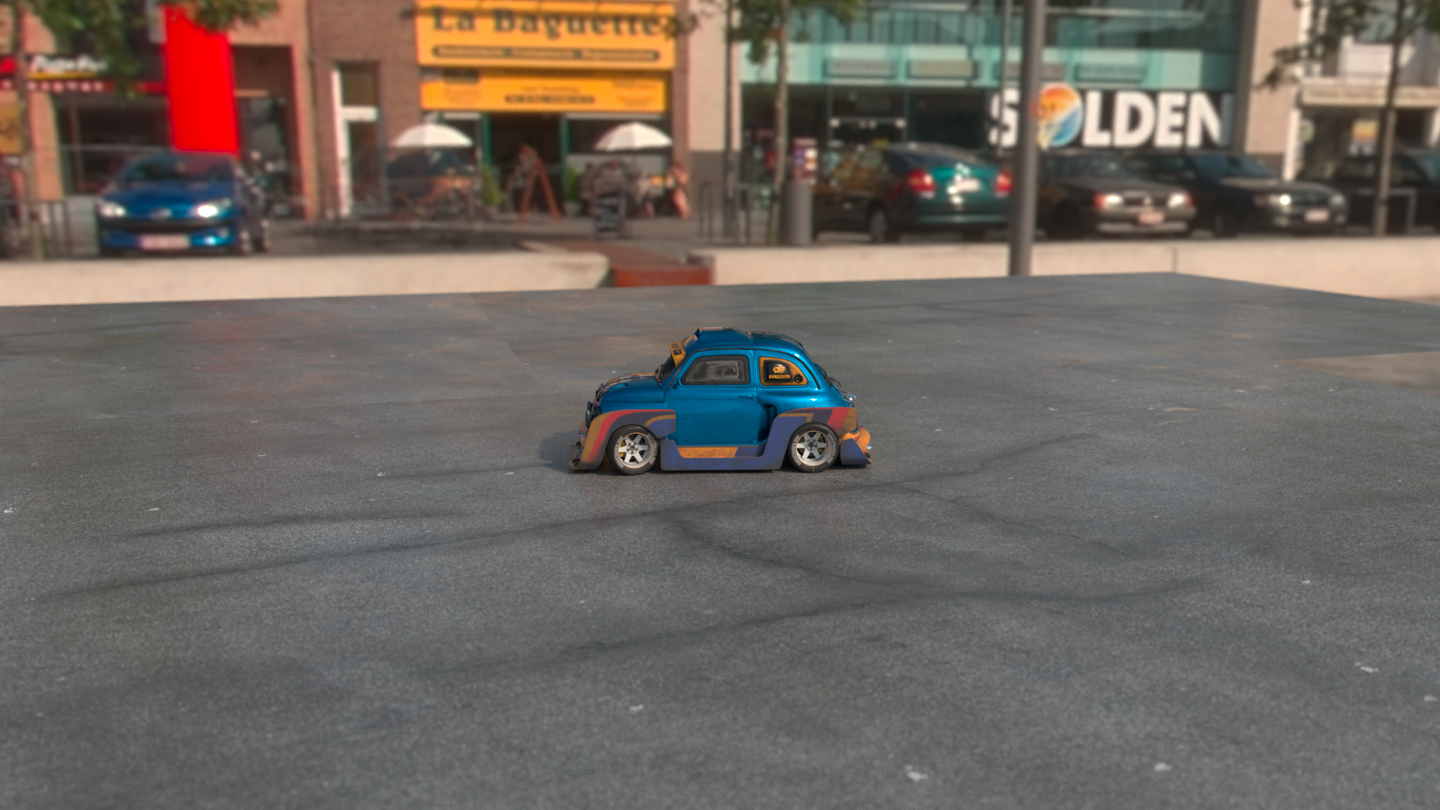
Eventually, we couldn't go away without giving a last try at this pretty Nuova500 and put her in a more familiar environment.

Keywords :
flakes, car paint, metallic paint, automotive, coat, coating, multiscale, brdf, arnold, arnoldrender, arnoldrenderer, shader, material, reflect, reflection, microfacet, arnold shaders, arnold download, arnold materials, arnold renderer materials