
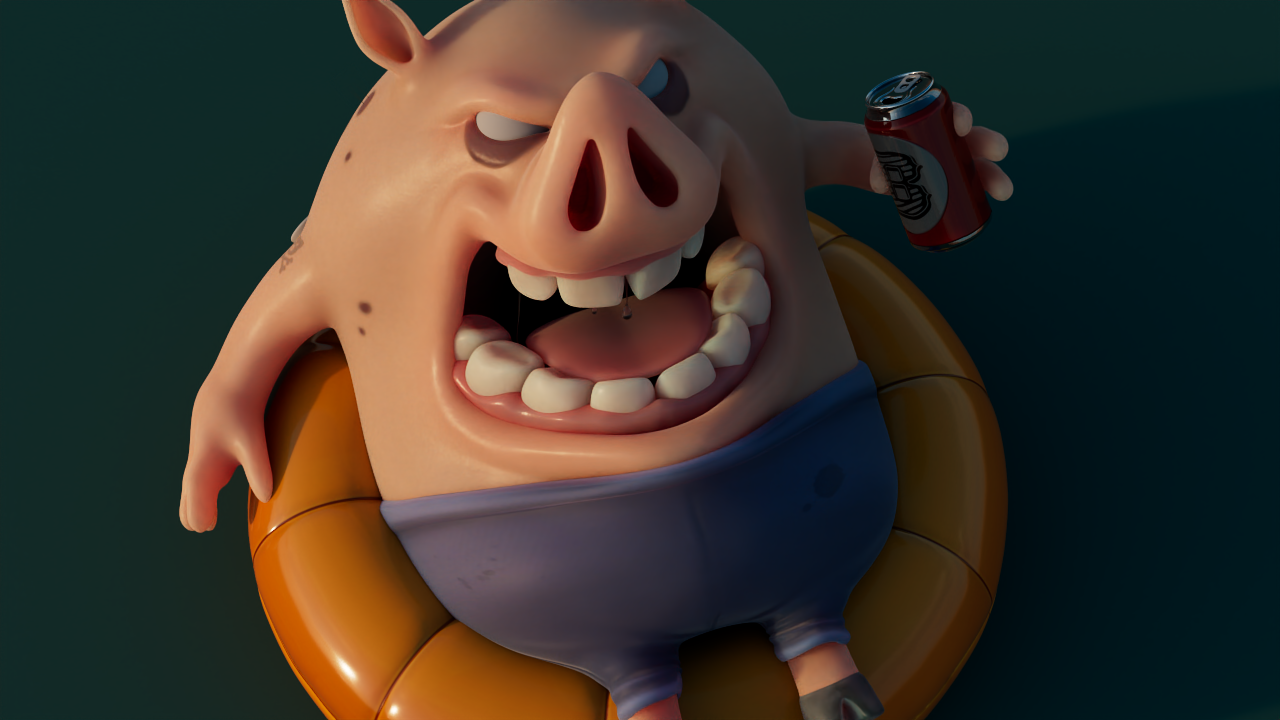
SkinLayers material is a three layers SSS dipole implementation in the style of the old alSurface material with added features like ‘peach fuzz’ reflections and ad-hoc params to better control overall sss appearance. Works great for anything releated to subsurface scattering and remains super easy and intuitive to use. Here for this Judge Dredd's caricature there're no tweaks at all, we just applied the material and attached an albedo and bump map.
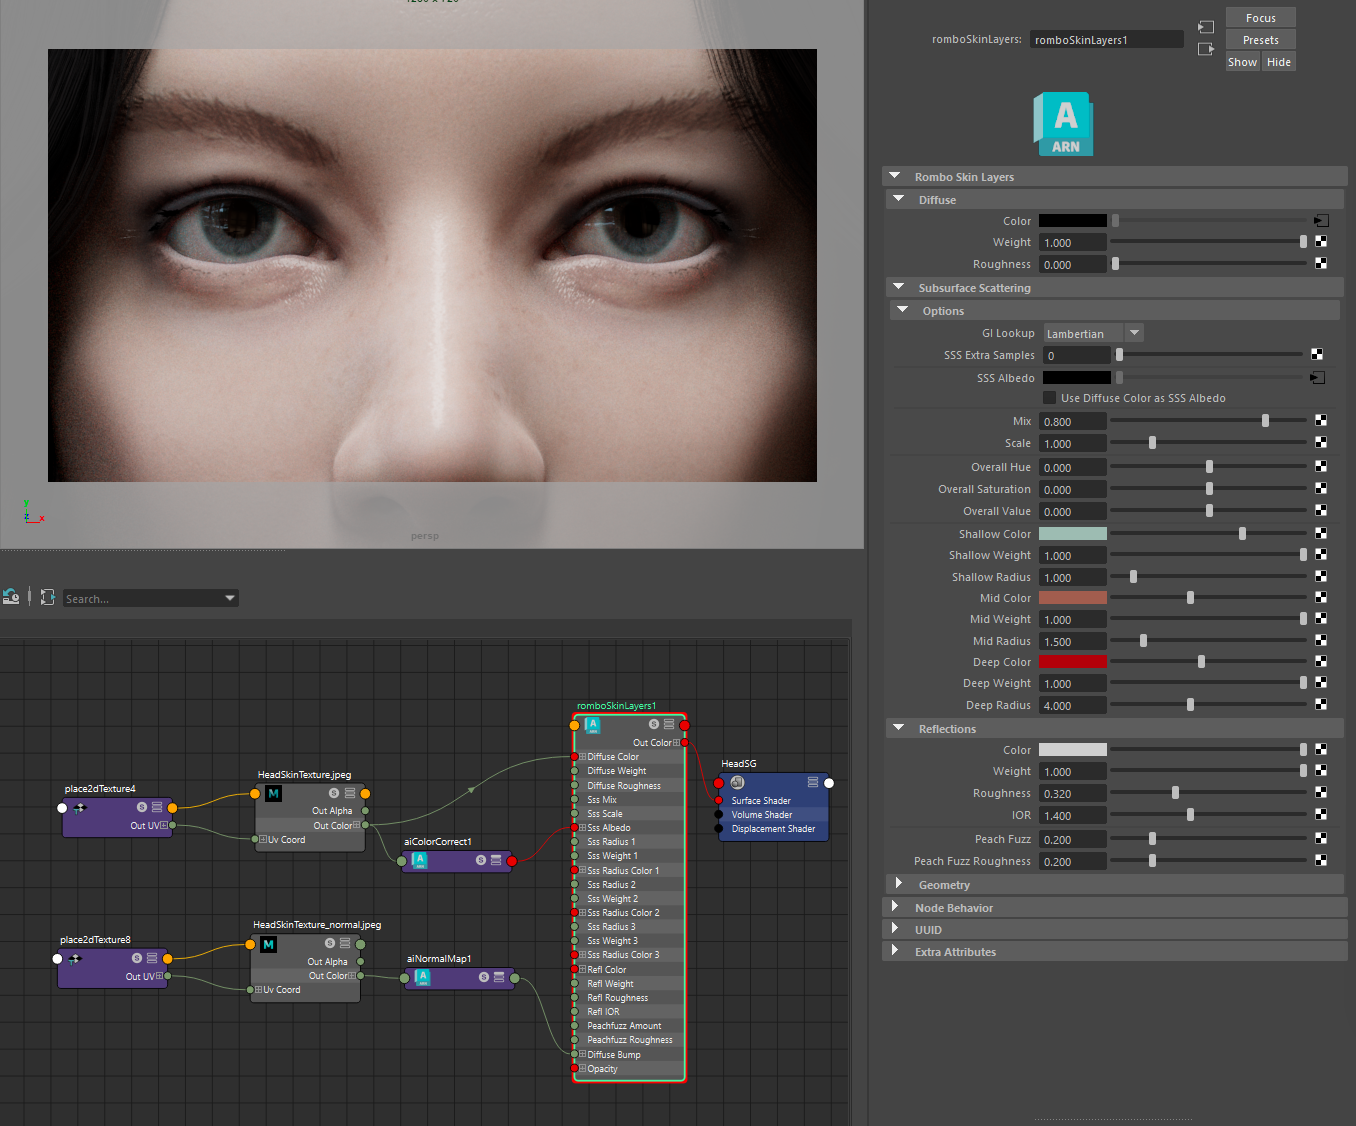
One little trick however we almost always use for skin is to leave a bit of diffuse shading (Mix param set to 0.8/0.9) and color correct only the SSS albedo with some gamma correction. This removes from the skin texture the SSS which is generally baked in (most of the times) even when maps are painted.

We will not go through all the parameters because they are very easy to grasp and understand.
Below you can see the simple albedo SSS trick we explained above. Eyes too use SkinLayers.
Generally we setup the main skin appearance by tweaking the Mix and the Scale param. Mix is about how much diffuse vs SSS we'll have; here we have 80% SSS and only a 20% left for diffuse. The Scale is a global param that controls the overall SSS radius.
We can then start tweaking individual layers.
If we don't need all three layers we can simply set the weight of the layer we want to exclude to 0. We can also easily mix up layers by tweaking their respective radius.. if the second layer in the GUI has a bigger radius than the third layer it will be processed as third by the SSS engine so we can easily experiment by swapping up layers.
Remember that once we did setup our layers we can still control their overall appearance with hue/sat/val global params.
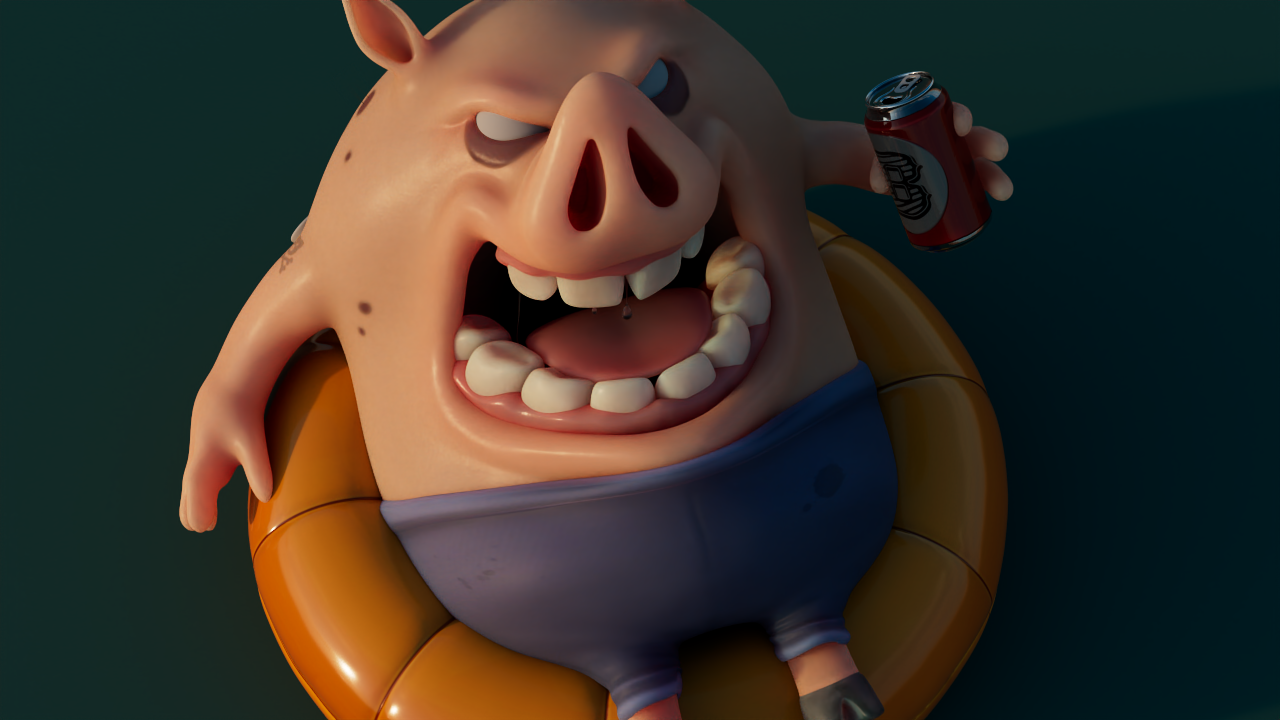
Reflections use the usual parameters we have already seen in many other posts. Let's see how the 'peach fuzz' param instead is influencing our shading. It mainly lights up geometry at grazing angles. Look at the pants or at the inner mouth.. more light and more realistic rendition. It's on by default.
The GI Lookup parameter controls how GI rays will see SSS.
By default they won't see it at all because the lookup is set to 'Lambertian' which means that instead to go to evaluate the SSS it will simply lookup the diffuse part.. this is to speed up rendering because most of the time if light won't fully pass the SSS geometry we won't have any effect anyway. When instead we set it to 'Hybrid' then we randomly lookup either SSS or diffuse based on GI depth. Eventually when set to 'Full' we do the full SSS lookup.
Below we compare between Full and Lambertian. 2.50mins vs 2.20mins. Hybrid would be in between the twos for both time and appearance. Take care that 'SSS bleeding' gonna take a lot with ie. Random Walk SSS, that's why we prefer to use SkinLayers or SSSDipole or even SSSDiffusion for these kind of effects. Dipole and diffusion shaders have also a GI multiplier to better tweak the effect.
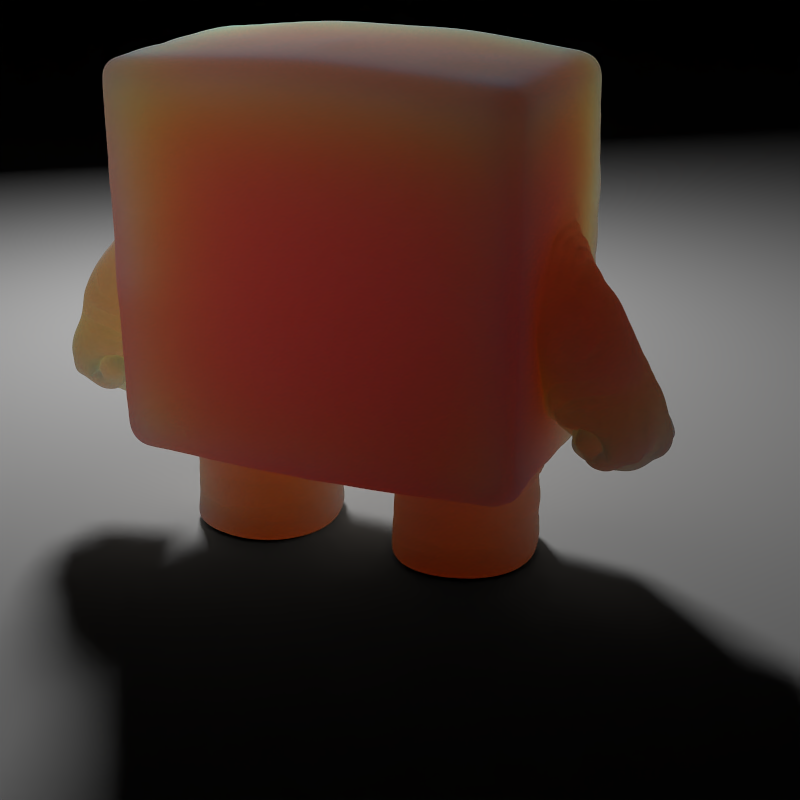

While dipole SSS is an approximation it is able to render skin near 'random walk' quality at a fraction of the time. Not last, the three layers system allows for a very natural setup to obtain powerful skin renditions. We are not limited to plain colors we can attach up to three different SSS maps and mix, swap and tweak them while looking for the best results.

Of course we're not limited to skin. Any thing with SSS can easily be approached with SkinLayers.

Keywords :
skin, skin shader, subsurface, SSS, layers, arnold, arnoldrender, arnoldrenderer, shader, material, reflect, reflection, microfacet, arnold shaders, arnold download, arnold materials, arnold renderer materials