
A thickness shader is a type of shader used to simulate the thickness or volume of an object in a 3D scene. It allows for the creation of more realistic and detailed models by adding depth and dimension to otherwise flat or thin objects. The thickness shader works by calculating the distance between the surface of an object and a reference point within the object, and then using that distance to determine the thickness or volume of the object at that point. This can be used to create a wide range of visual effects, such as simulating the appearance of fur, hair, or other textured surfaces, as well as the thickness and translucency of materials like glass or water. Overall, the thickness shader is an important tool for creating more realistic and immersive 3D environments and objects.
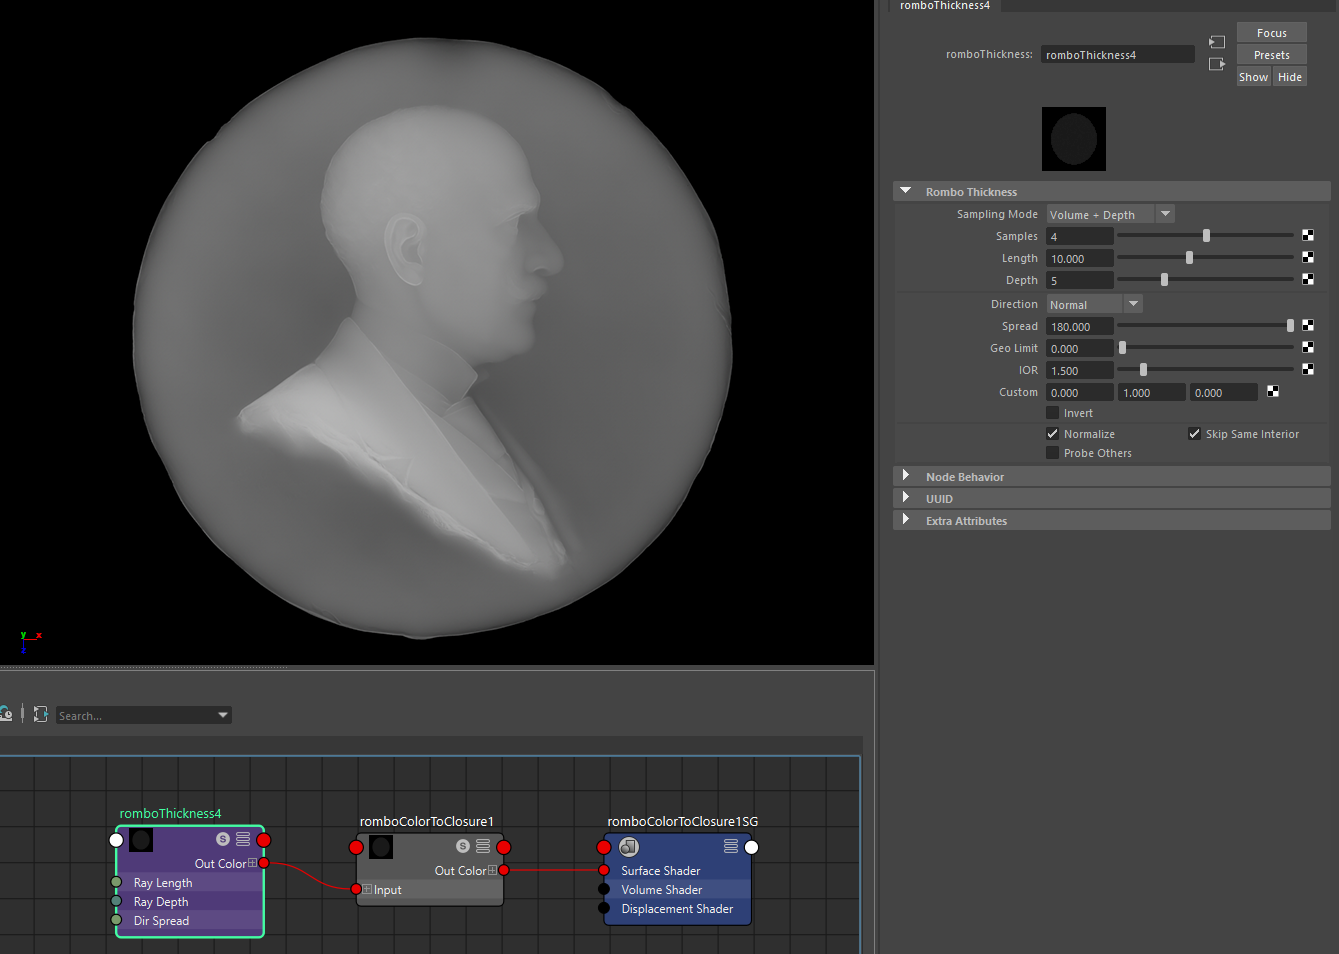
Rombo thickness supports many options but the most important are : length, depth and spread.
Generally with both length and depth you want to pass through the whole model so to account for its full thickness. If ray depth is not enough for example the thickness shader will stop at that depth and if the model has not been passed through you'll get back some black artifact. Of course you can still use this to drive some kind of effect like water slowly filling or submerging an object. Same goes for 'length' which is measured in internal units. Following uses a depth of 1 with a length of 10 units.

This is how instead our model will look once the depth is increased to 4, which means we're allowed to hit four surfaces before escaping from the back of the object.

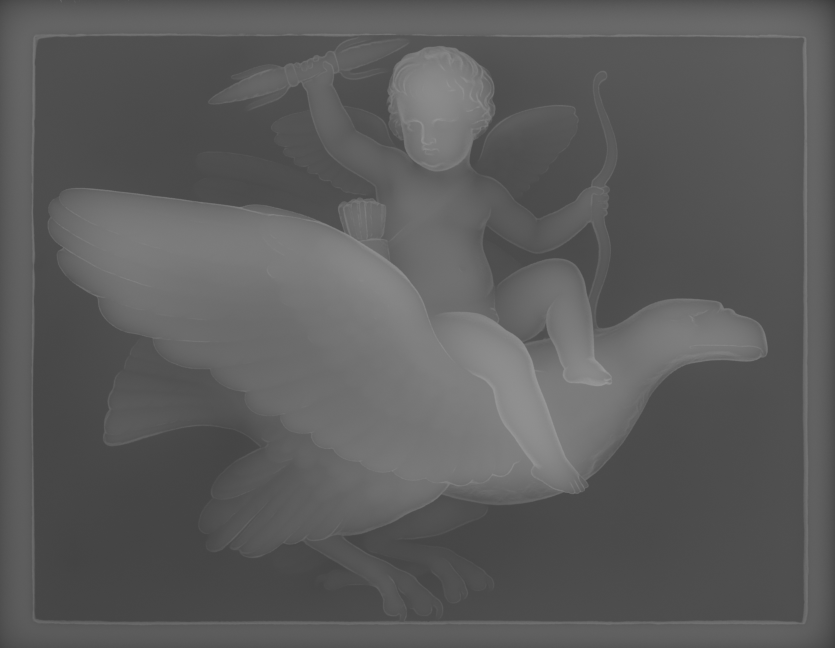
You may have noticed that because the above cupido has been rendered with 'refraction' direction mode it also shows falloffs at edges. For a pure thickness evaluation we may use the following setup. 'View' direction with GeoLimit will limit how much the object normals are used to compute the overall thickness. Without the GeoLimit parameter we could achive the same by tweaking the 'spread' parameter (which is disabled when GeoLimit is >0).

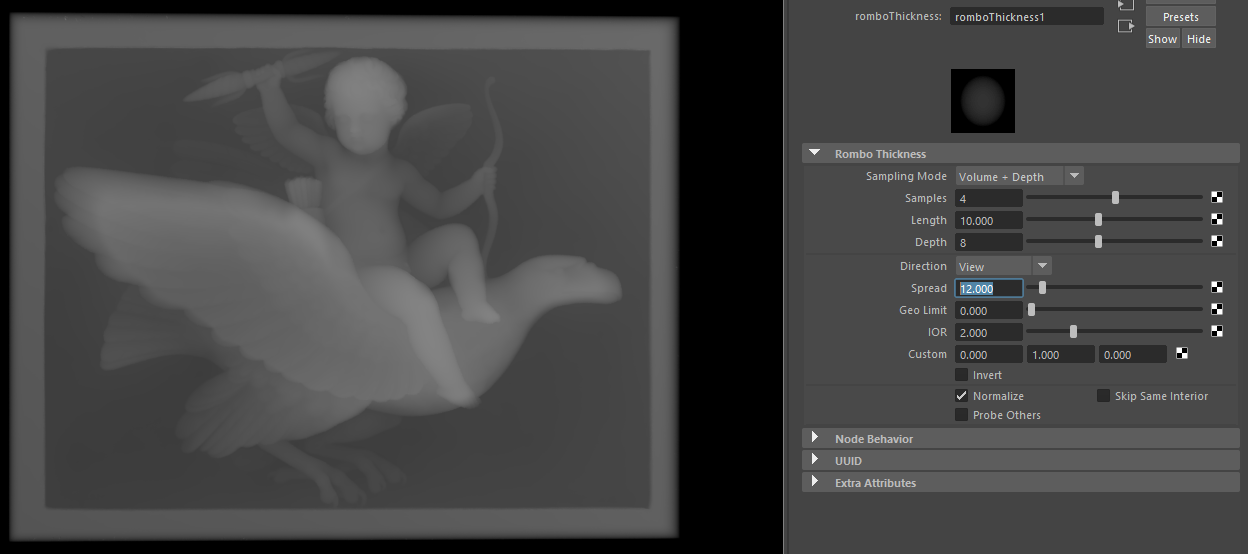
The 'spread' parameter is used to increase or decrease the cone of probe rays that are shot from the intersection point. A spread of 180 means that the ray probing will hit most likely also the borders or edges of the object resulting in some falloff. By decreasing the spread we'll have a more strict thickness evaluation. We see above we use a spread of 12. If we increase it these are the outcomes (respectively.. 24, 48 and 96) : we see past 48 for this model, the outcome no more resembles that of a thickness shader.

With other direction modes and a large spread we can still tweak an overall thickness effect. If we instead we use a narrow spread we can achive other effects like silhouetting and edge detection. Following for example we used 'reflection' direction mode with a spread of 24.

Other useful parameters to tweak our thickness renditions are 'Skip Same Interior' and 'Probe Others'. The former will skip internal parts of our model allowing for a more exact thickness computation disregarding construction polys and treating the model as a volume. Following for example does skip internal geometry for eyes. 'Probe Others' as the name suggests will consider or not other geometry as being part of the thickness model and it's working only in 'Probe' mode.


Keywords :
thickness, depth, length, arnold, arnoldrender, arnoldrenderer, shader, material, reflect, reflection, microfacet, arnold shaders, arnold download, arnold materials, arnold renderer materials